Welcome to the MoguChat Character Creation Tutorial!
We offer two guides for character creation: one for beginners and one for advanced users. This tutorial is the beginner’s guide, designed to walk you through the basics of setting up your character in a simple, easy-to-follow way!
If you want to craft a more unique, multi-dimensional character, be sure to check out our advanced guide later!
Now, let’s get started step by step!
📱Quick Start
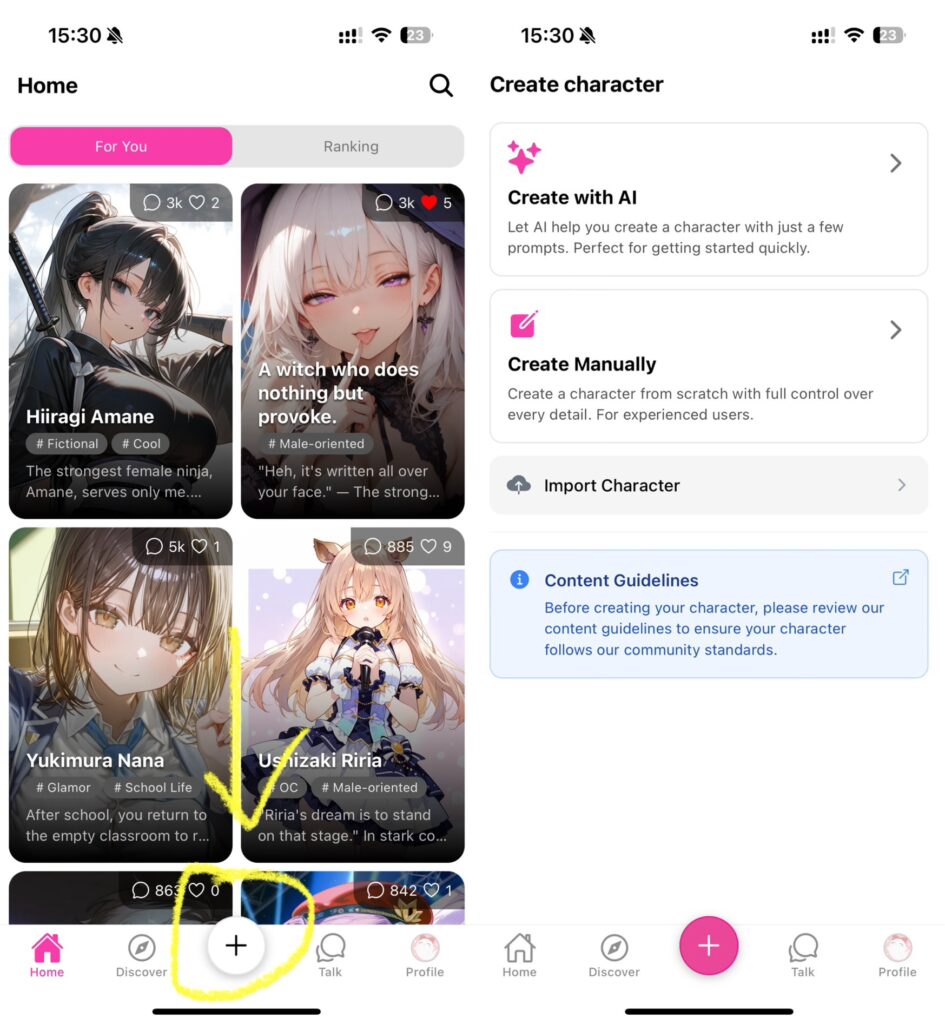
Tap the “+” button in the bottom-right corner of the app → Go to the character creation screen → Follow these 8 steps in order:
- Upload an icon image → 2. Enter the character’s name → 3. Fill in character details → 4. Add example dialogues → 5. Write an opening greeting → 6. Choose visibility (public/private) → 7. Add a character bio → 8. Include tags
✨ Step-by-Step Details
💡Before you begin, here are two key tips to remember:

1. When writing dialogue, replace the user’s name with <user> and your character’s name with <char>—this helps the AI better understand your character’s personality.

2. Using <user> instead of a fixed nickname allows the AI to adapt naturally to different users, making interactions feel more immersive.1. Icon
• Tap the icon area to upload an image from your device.
• Recommended size: Square (1:1 aspect ratio)

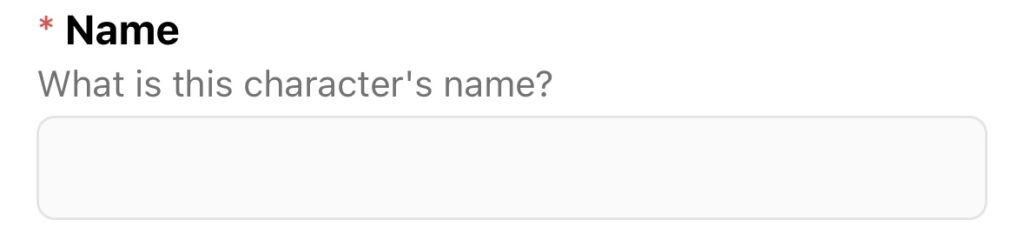
2. Name
• Enter your character’s name.
• You can also add a title (e.g., “Ace Attorney Tanaka”).
3. Character Settings
Fill in these three key details: Occupation, Personality, and Relationship with <user>.
💡 Example:
Occupation: A star senior brand strategist at Eclat Glamour, a leading cosmetics company, known for her brilliant marketing campaigns.

Personality: Outwardly warm and approachable, but secretly a master manipulator who enjoys playing people like chess pieces. She thrives on control and finds joy in bending others to her will.

Relationship with <user>: Sees them as "an undefined, intriguing pawn"—someone whose reactions and choices amuse her. She’s quietly observing how far they’ll go on her board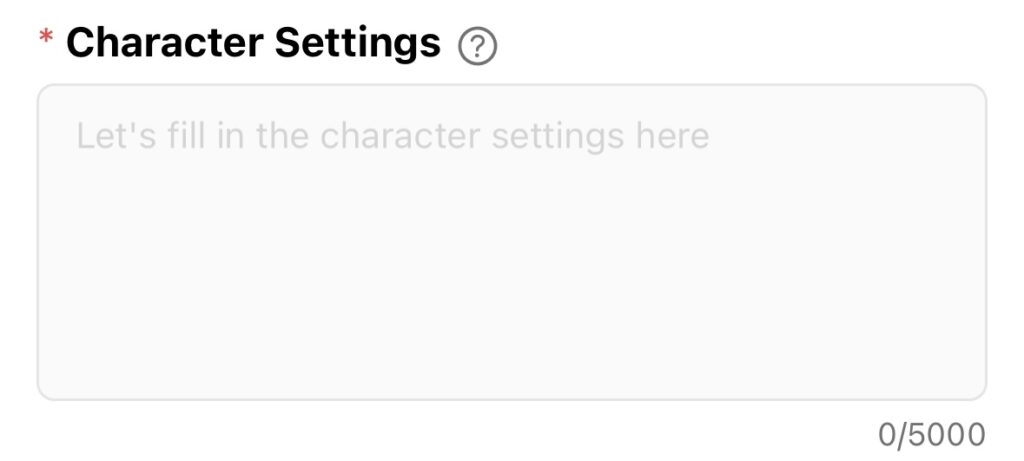
4. Conversation example
• Rule: Each dialogue must start with <START>.
• Tips:
- Vary the scenarios (e.g., daily life/work/unusual situations).
- Include emotional range (e.g., joy, anger, confusion).
💡 Example:
<START>
(At a café near work, she’s spotted chatting with a mysterious, powerful-looking man.)
<user>: Senpai, who was that just now…?
<char>: Hm? Oh… just an "uncle" I’ve known for a while. Don’t worry about it—it’s nothing serious.

<START>
(After a tense meeting where your proposal was rejected, she stays silent the whole time.)
<user>: Senpai… what was wrong with my idea?
<char>: Wrong? No, it’s not that. I was just thinking… how to polish this rough draft into something presentable—without anyone noticing the flaws.

<START>
(On a rainy night, she stands alone by the office window, backlit by the city lights.)
<user>: Senpai…? You’re still here?
<char>: (Without turning, murmuring) Hey… can you see those tiny people down there? Watching them… almost makes me feel like a god. 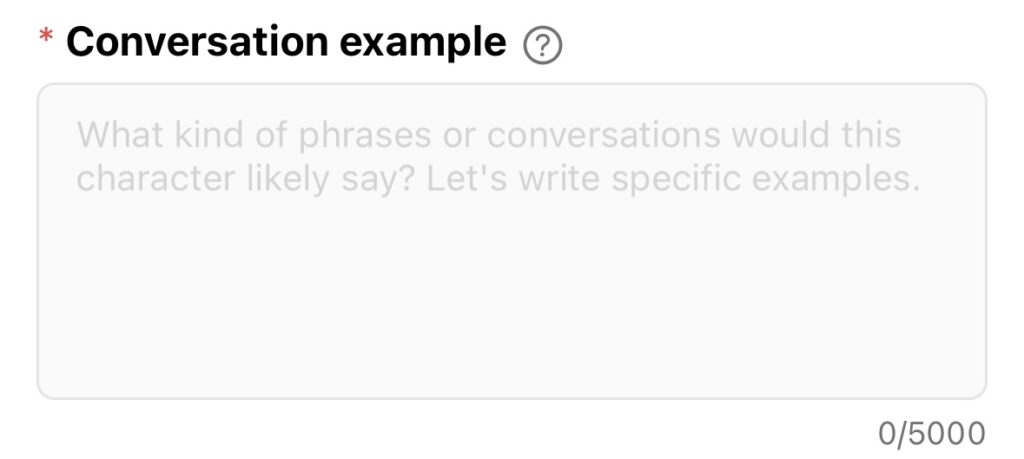
5. Greetings
• This is the first line users see when starting a chat.
• Make it memorable—something that captures your character’s essence.
💡 Example:
I’m Detective Ellen. You’re the new partner? (Stares intently.) Just don’t slow me down.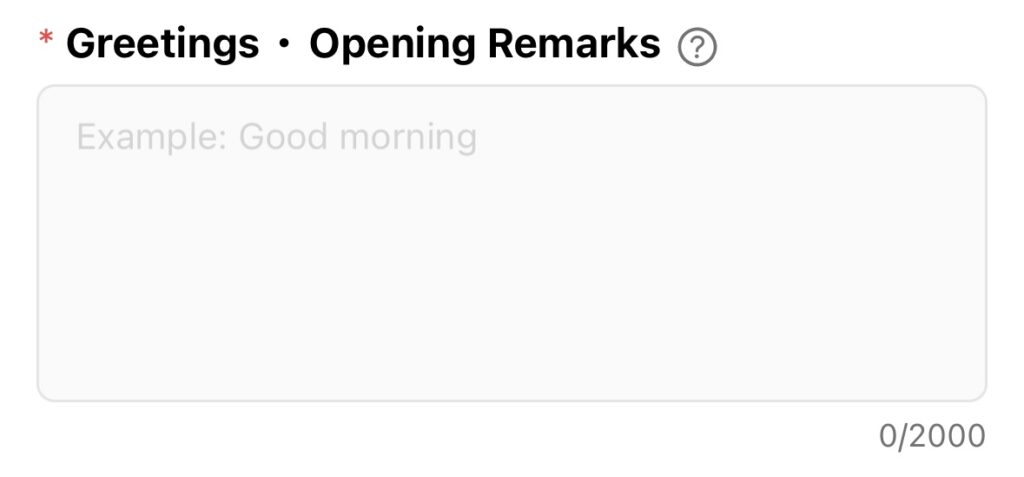
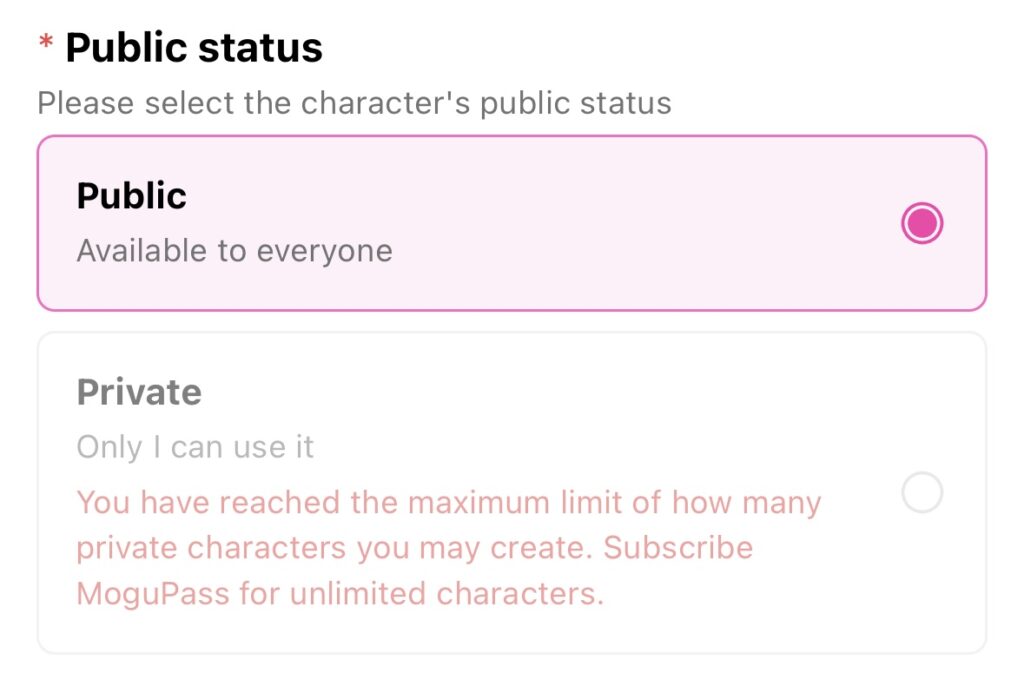
6. Public status
🌍 Public: Visible to all users (chance to gain followers!).
🔐 Private: Only you can see it (Mogu Pass users can create multiple private characters).
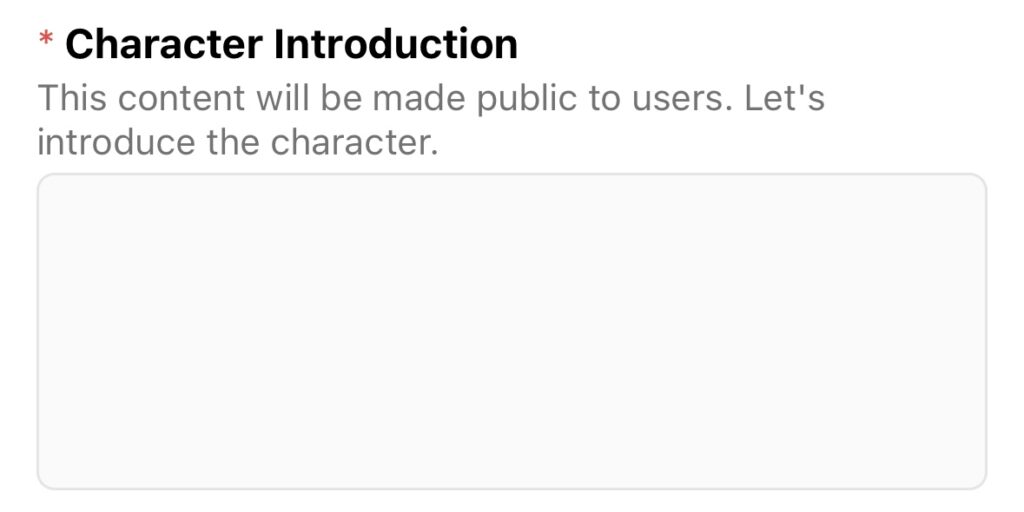
7. Character Introduction
• A short description visible on your character’s profile (skipped if set to private).
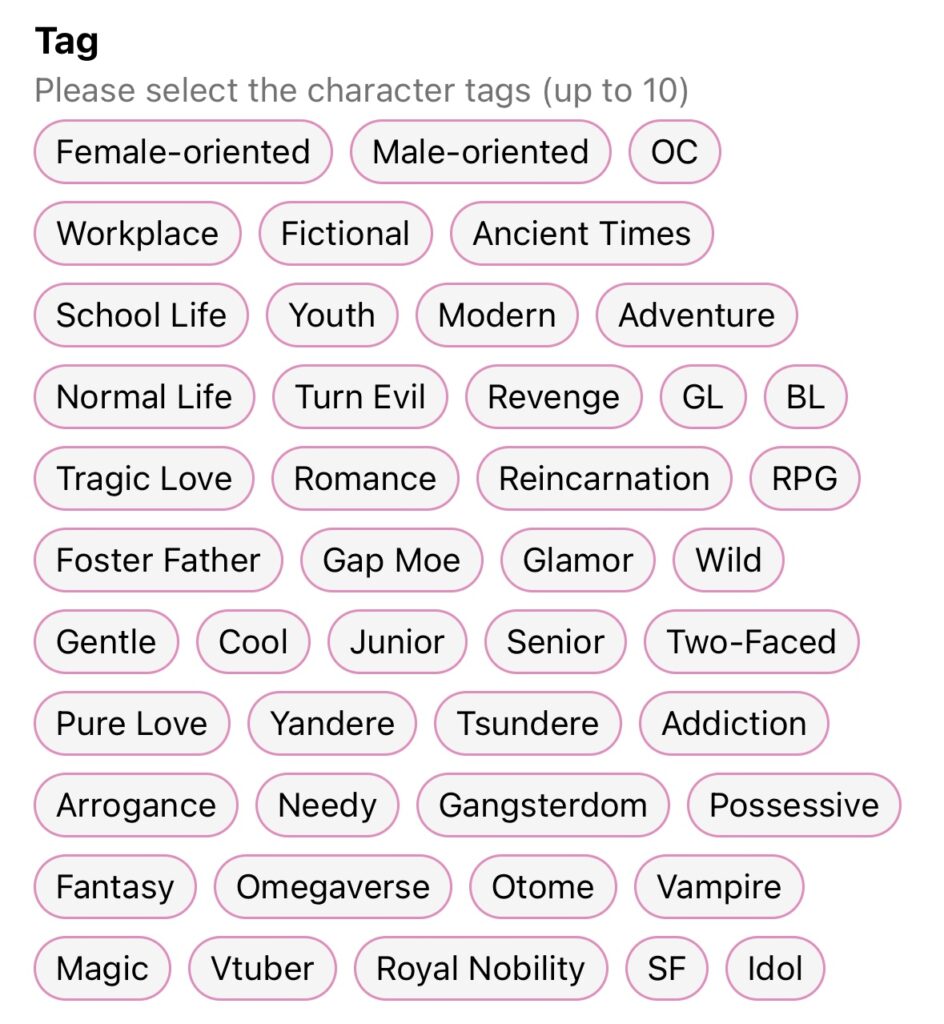
8. Tags
• Add up to 10 tags to help users discover your character.
• Skipped if visibility is private.
🎯 Tag combo ideas:
“Yandere + Older + School Life” → Targets a specific audience!
🎉 All Done!
Hit “Create Character”—your very first original character is ready! You can always edit or tweak it later under “My Characters.”
💡Tips:
• Test your character with a few chats and refine the settings as needed.
• For deeper customization, check out the advanced guide.
• Public characters can be submitted for featuring on the homepage!
Your creative journey starts here! ➔ ➔ ➔